karen@mail.karencynowa.com
Blog

Mastering the Art: How to Install a Carpet Like a Pro
Introduction:
Are you ready to roll out the red carpet on your DIY skills? Dive into the world of "Carpet installation" and learn "Professional techniques" to avoid those pesky carpet wrinkles and achieve "Seamless seams." Whether it's your first rodeo or you're a seasoned pro looking to brush up on "Subfloor preparation," this blog post is your golden ticket to "Stretching carpet" without breaking a sweat. Grab your knee kicker and let's get "Trimming carpet" with such finesse, your floors will be the envy of the neighborhood. Say hello to snug "Carpet padding" and goodbye to lumps and bumps. It's time to install a carpet like a pro, and we've got the blueprint to get you there!

Mastering the Art: How to Install a Carpet Like a Pro
Introduction: Installing a carpet can transform the look and feel of a room, but achieving professional results requires careful planning and execution. In this guide, we'll walk you through the step-by-step process of installing a carpet like a pro. From preparing the subfloor to stretching and trimming the carpet, we'll cover everything you need to know to tackle this project with confidence.
Step 1: Gather Your Tools and Materials Before you begin, gather all the necessary tools and materials. You'll need a carpet stretcher, knee kicker, carpet knife, seam roller, carpet pad adhesive, tack strips, and of course, the carpet itself. Make sure you have the correct measurements for the room to ensure you purchase enough carpet and padding.
Step 2: Prepare the Subfloor Proper subfloor preparation is crucial for a successful carpet installation. Start by removing any existing flooring materials, such as carpet, tile, or hardwood. Clean the subfloor thoroughly, removing any debris or adhesive residue. Repair any uneven or damaged areas, and ensure the subfloor is smooth and level.
Step 3: Install the Carpet Padding Next, roll out the carpet padding across the entire subfloor, making sure to butt the edges together tightly. Secure the padding in place using carpet pad adhesive or staples, ensuring there are no wrinkles or gaps. Trim any excess padding along the edges of the room.
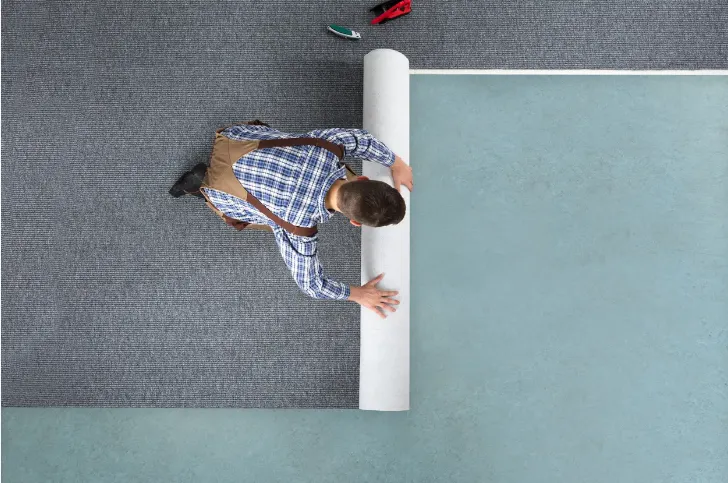
Step 4: Lay Out the Carpet Now it's time to lay out the carpet. Start by unrolling the carpet in one corner of the room, allowing it to relax and acclimate to the temperature and humidity of the space. Position the carpet so that it overlaps the walls by a few inches on all sides, then trim any excess using a carpet knife.
Step 5: Stretch and Secure the Carpet Using a knee kicker and carpet stretcher, stretch the carpet tightly across the room, starting from the center and working your way out towards the walls. Secure the carpet along one edge of the room using tack strips, making sure to leave a small gap between the strips and the wall.
Step 6: Seam and Trim the Carpet If your room requires multiple pieces of carpet, use a seam roller to press the seams together tightly, ensuring a seamless appearance. Trim any excess carpet along the edges of the room using a carpet knife, making sure to tuck the edges neatly against the baseboards.
Step 7: Finishing Touches Finally, trim any excess padding along the edges of the room using a utility knife, and reinstall any baseboards or trim that were removed during the installation process. Vacuum the carpet thoroughly to remove any debris or loose fibers, and enjoy your newly installed carpet!
Conclusion: With the right tools, materials, and techniques, installing a carpet can be a rewarding DIY project that adds comfort and style to your home. By following these step-by-step instructions, you can achieve professional-looking results and enjoy the beauty and comfort of your new carpet for years to come.
Full Article HERE


